
ELIZABETH MOTYKA, CARD CRAFTING ENTHUSIAST
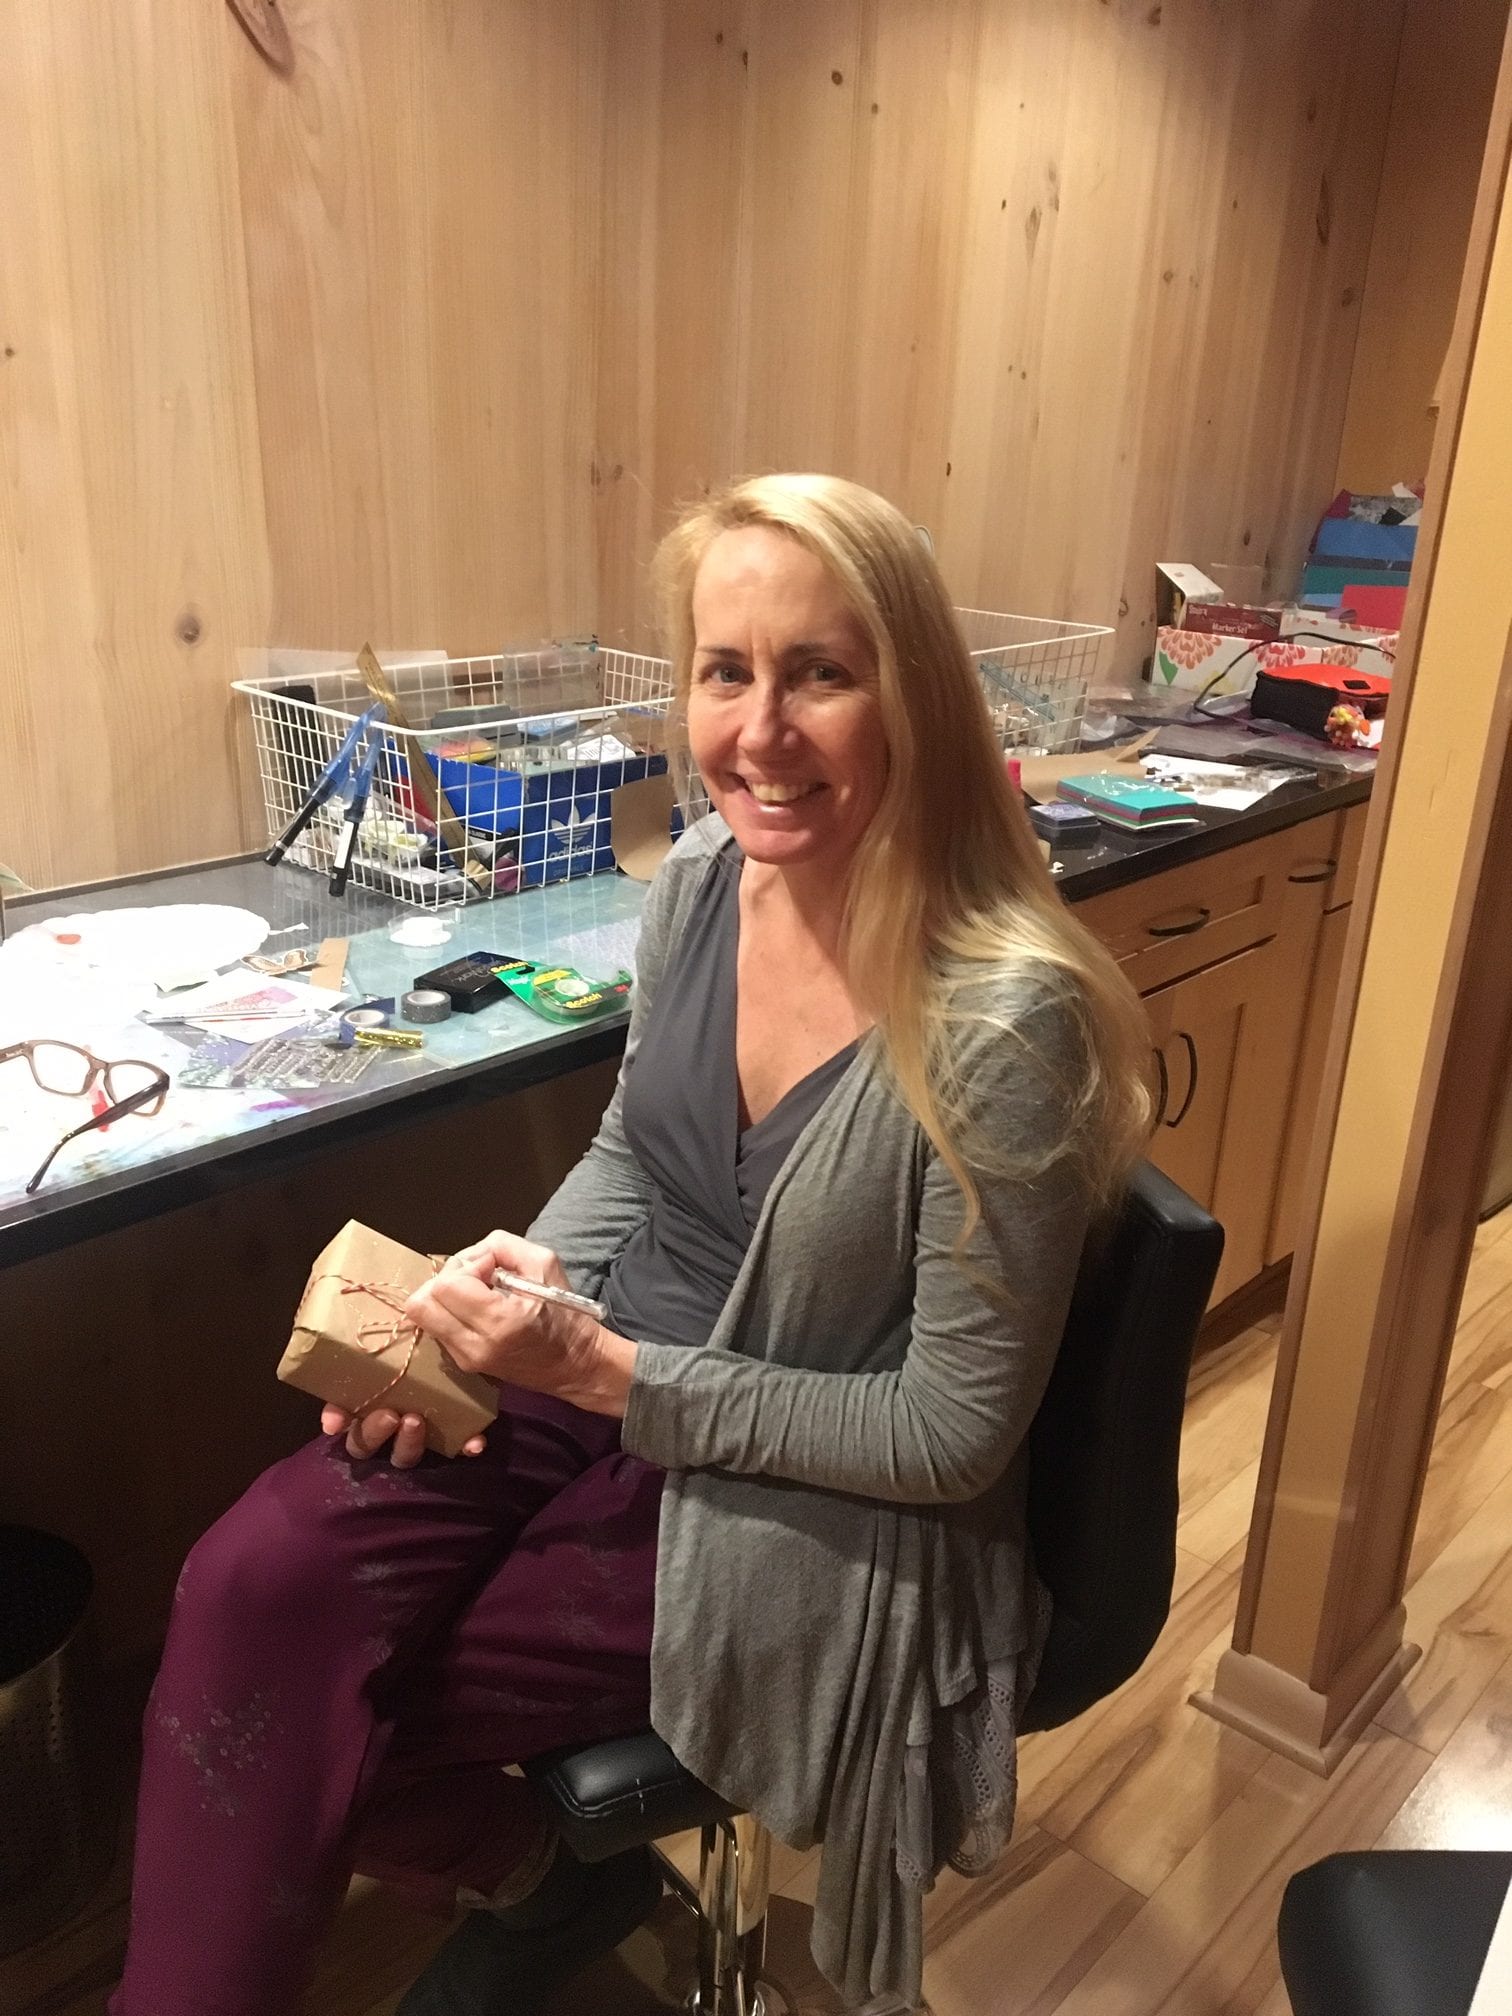
Elizabeth Motyka started making cards as a child. “Once you start making homemade cards for people, nothing else will do” she shared. “People were disappointed when I didn’t make them a card!”
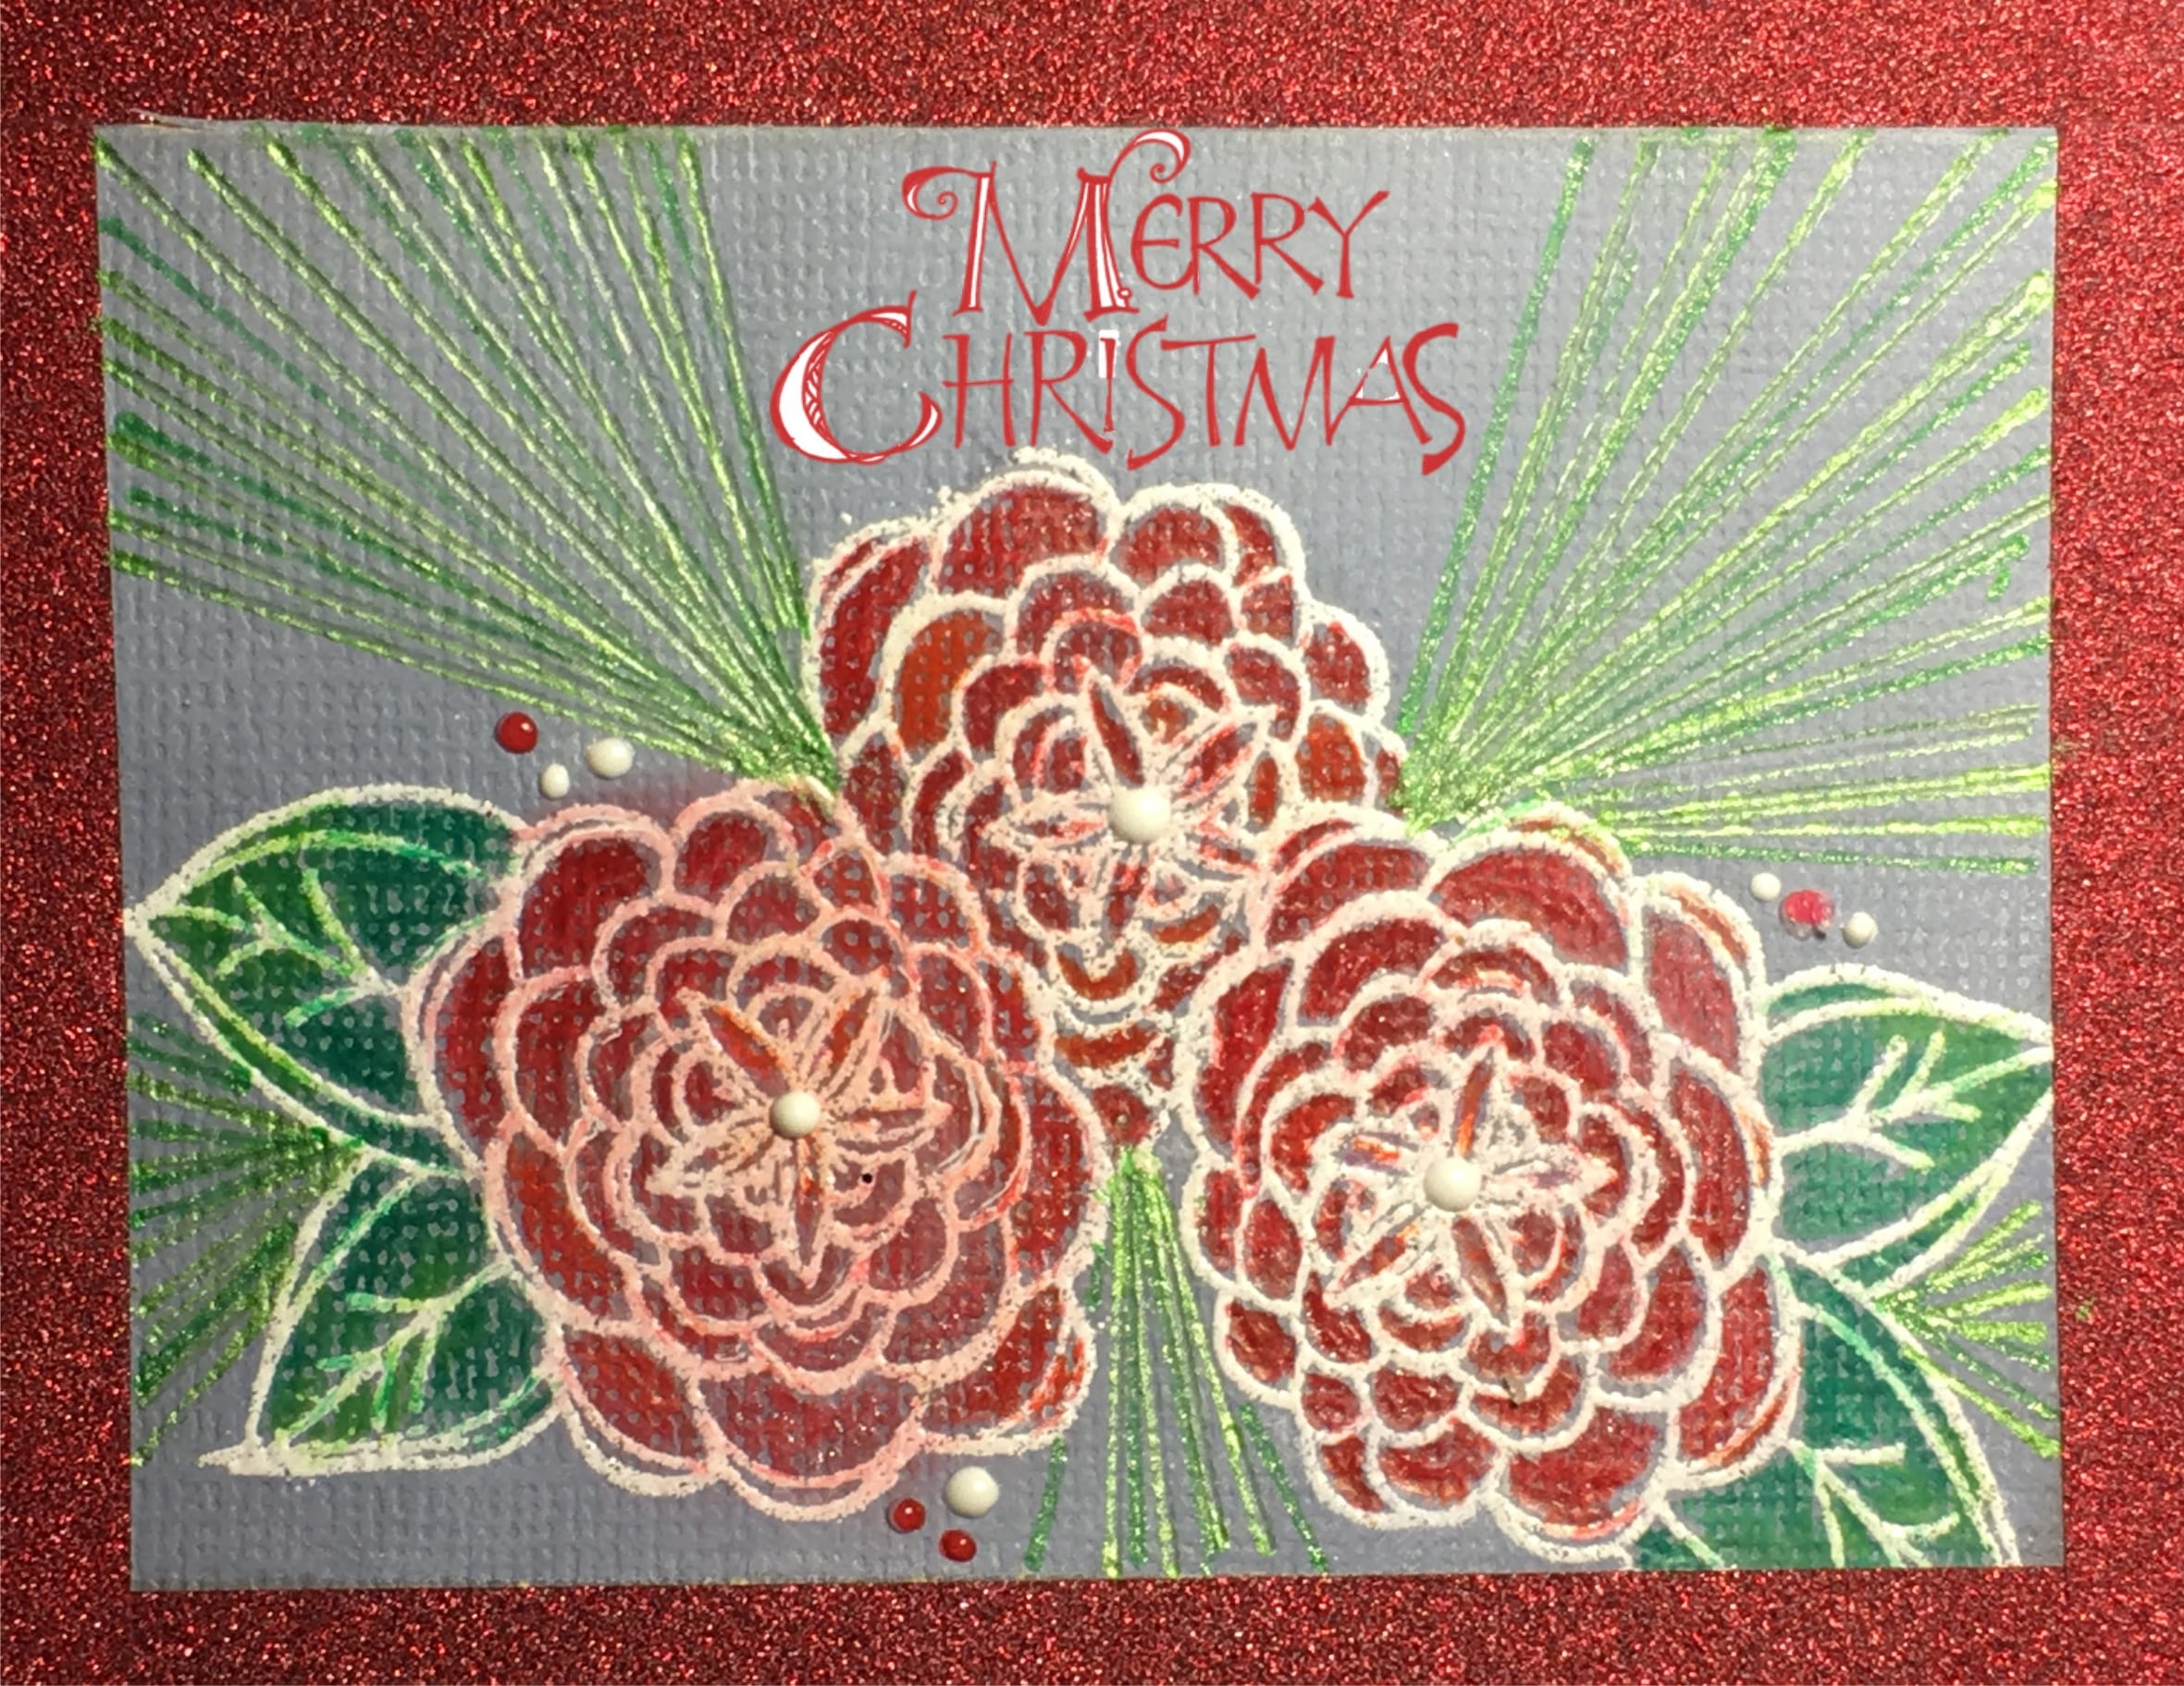
Elizabeth enjoys creating both physical and digital designs, and often adds handmade touches to her digital designs, or visa-versa. I love the design, bold colors, and sentiment Elizabeth used on this digital design:

And I love her handmade designs, too!
I got to meet Elizabeth earlier this year, and was wowed when I watched her wield a heat-gun to heat set embossing powder. A creative, experienced crafter, Elizabeth started scrapbooking in high-school— which taught her a lot about layout and design. Today she uses the same skills— collage, rubber-stamping and embossing— to create beautiful cards.
I asked Elizabeth if she would be willing to do a step-by-step tutorial for the Zenspirations® community, and she graciously agreed! “Making your own personalized holidays cards can really help you get in the holiday spirit!” she said. I was delighted when she chose one of my recently released Christmas stamp and die sets from Spellbinders to use in the project. “I love this set because it includes a stamp, the coordinating die, and a sentiment. This set has everything you need to make beautiful cards, holiday gift tags, and even an ornament to help you spread some holiday cheer.”
____________________________________________________________________________
ELIZABETH MOTYKA HOLIDAY CRAFTS TUTORIAL
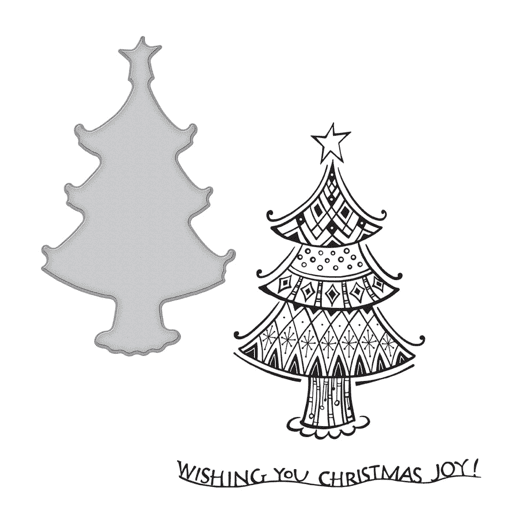
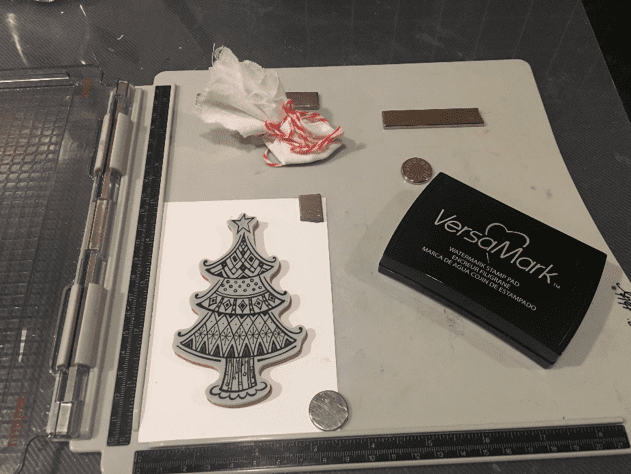
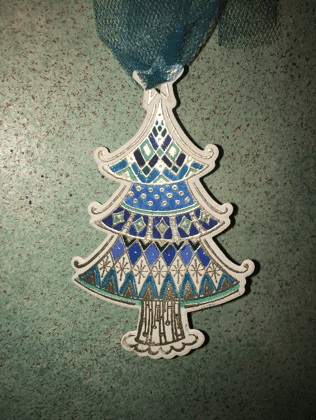
I love playing around with color, embossing powder, and foils to get some fun effects. I thought I would share a step by step of a simple ornament and then at the end of this post show you some of the other fun cards and tags I made to give you some ideas and inspiration. To start with, I stamped with the tree using versa mark ink.
I then embossed this with a platinum embossing powder, using my heat gun. If you don’t have embossing powder you can stamp with any stamping ink that you do have.
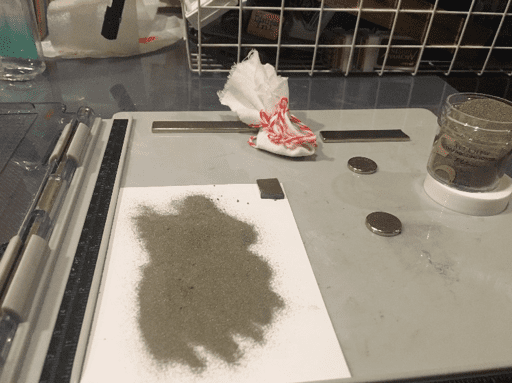
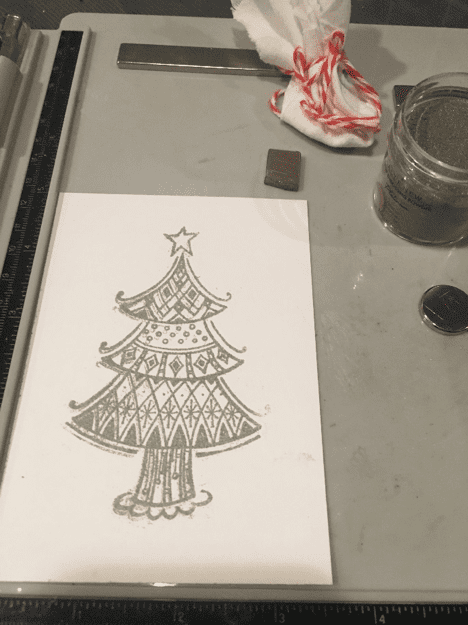
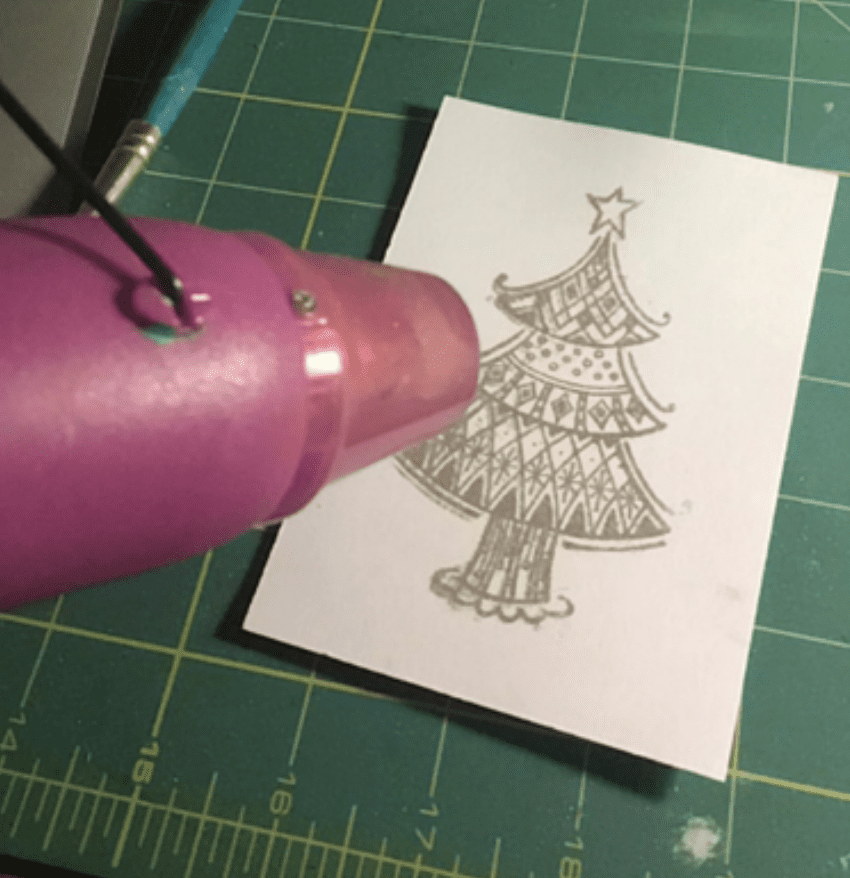
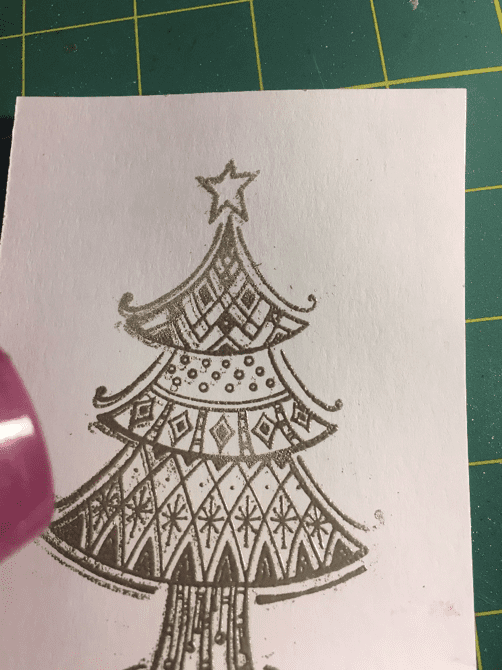
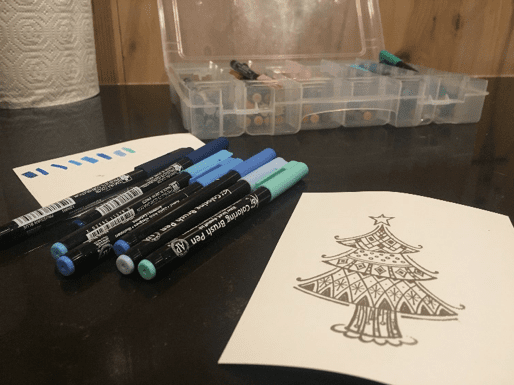
I love the silvery sparkle. I then colored each tree with koi coloring pens, but you could use gel pens, or colored pencils instead if you wanted to. Embossing makes it very easy to stay in the lines.
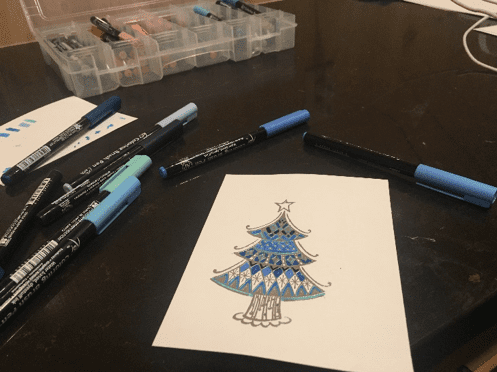
I then used the matching die to cut out the stamped image.
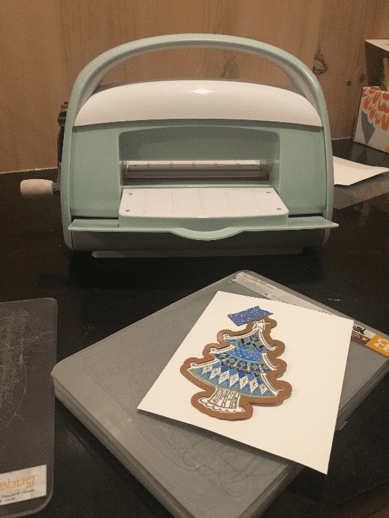
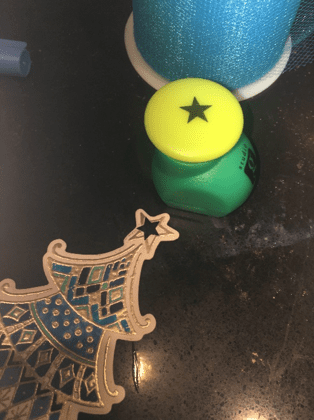
I then stamped again on the reverse side and repeated the heat embossing, and coloring. When I was finished, I used a hole punch to create a hole in the top of the tree and attached some tulle.
Here are some other fun ways you can use this stamp set:
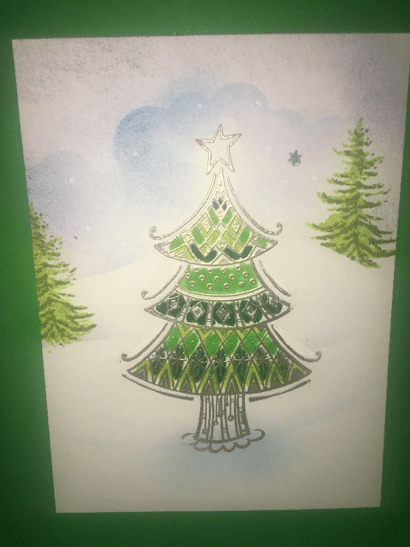
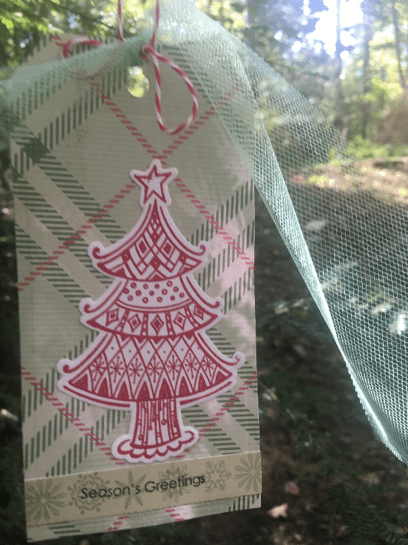
A landscape card A simple tag
A little gift box A shaker card
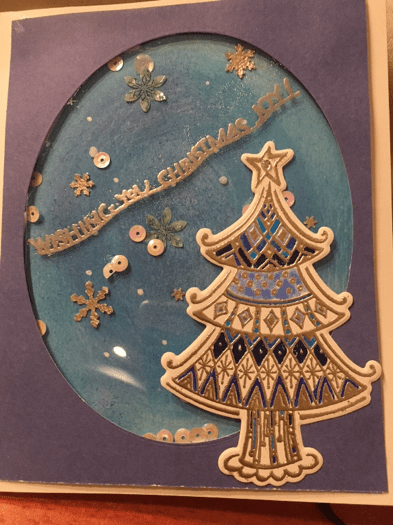
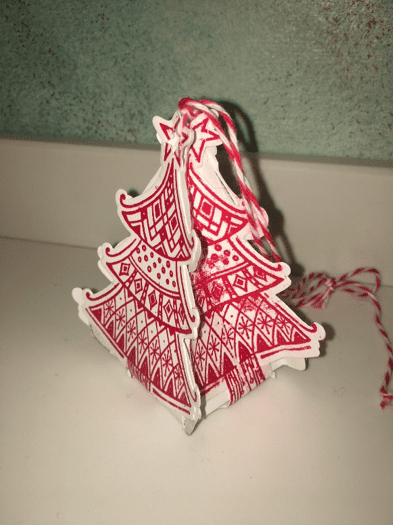
I hope I have sparked your imagination with some fun ways to use Joanne’s new holiday set and encouraged you to include some fun play with color and sparkle in your holiday preparations!
Stay Zenspired everyone!
Elizabeth Motyka
Comments are closed.
Thanks for sharing your beautiful artwork with this tutorial, I can’t wait to make some cards!!